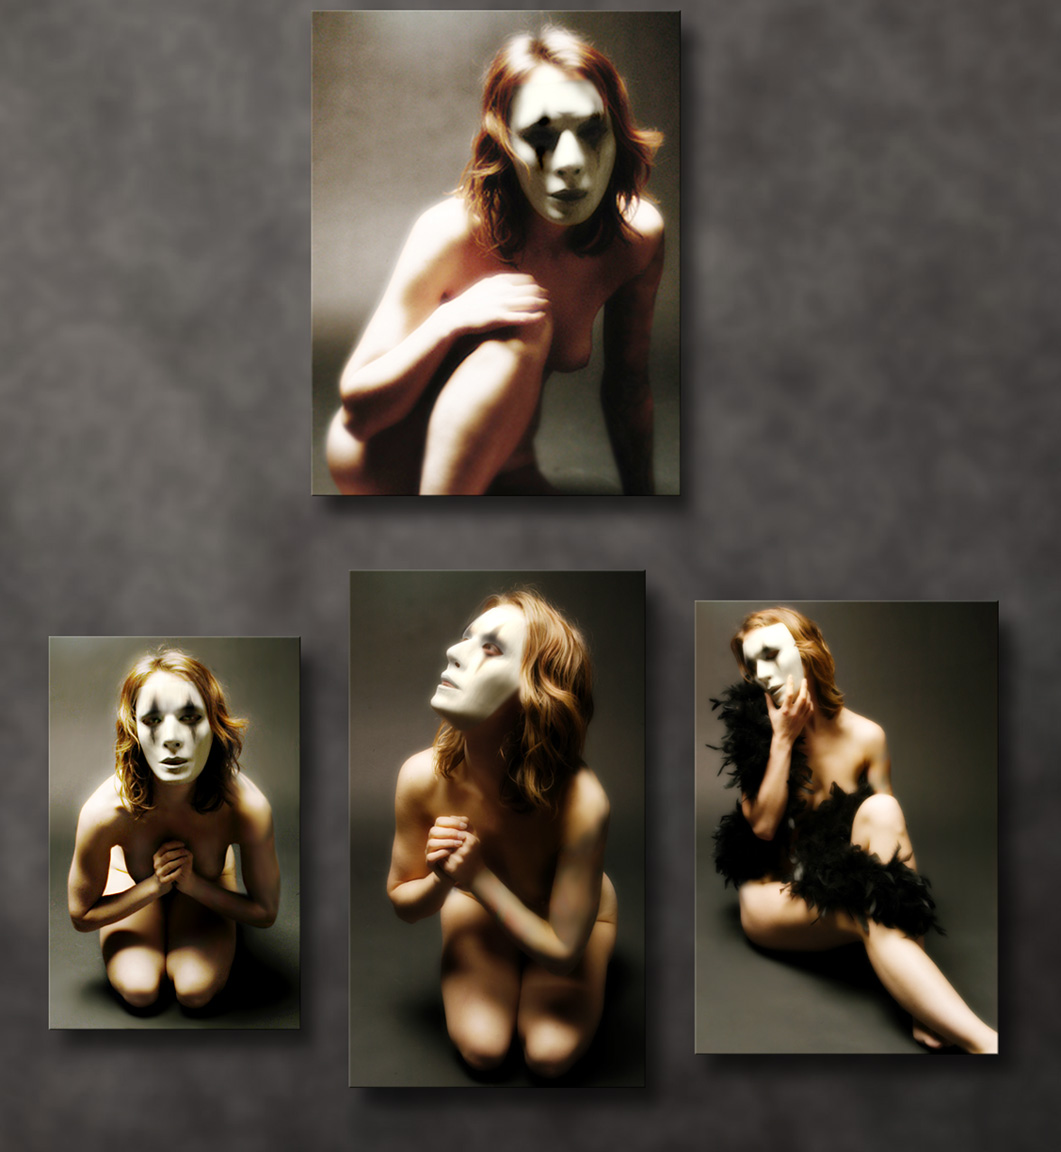
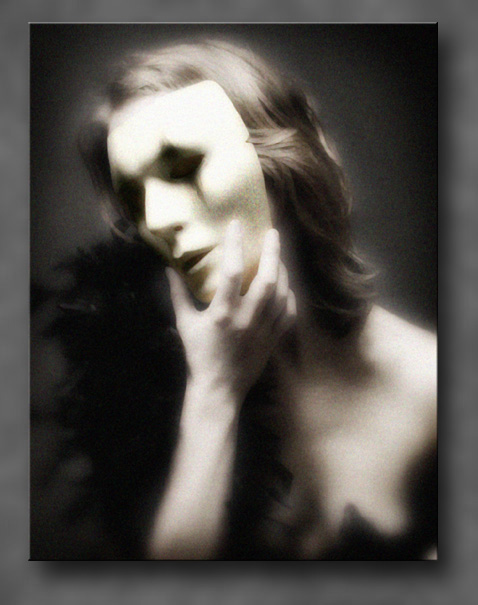
Photos by Sarah Gillmore
Back
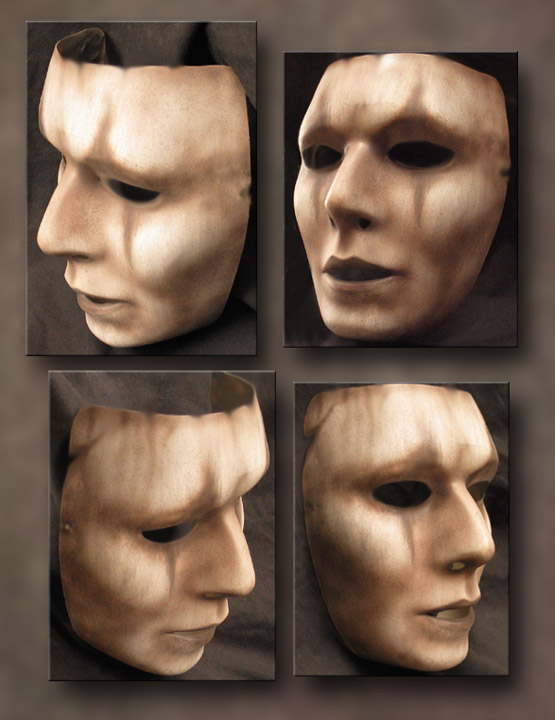
to Mask Gallery Page